Creating clay molds using silicone involves using silicone rubber to make flexible molds that can be used to cast various materials, including clay. Silicone molds are advantageous because they are flexible, durable, and can capture fine details effectively. Here’s a guide on how to make clay molds using silicone:
Materials Needed:
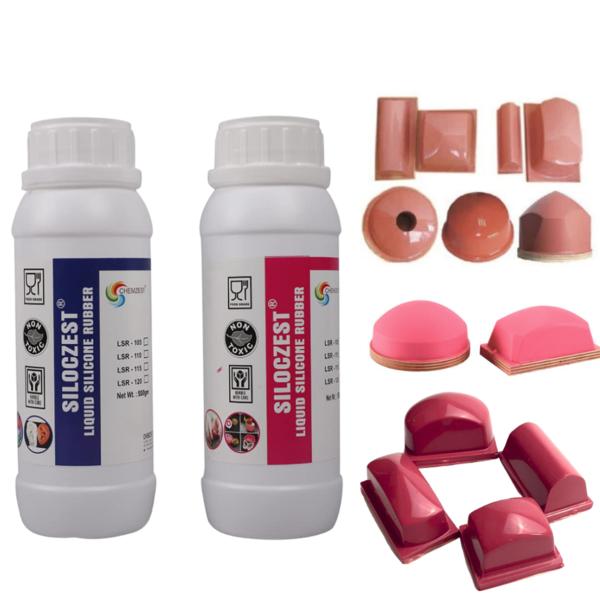
1. **Silicone Mold Rubber**: Choose a silicone rubber that is suitable for making molds. For clay molds, a platinum-cure silicone rubber is recommended due to its superior tear strength and long-lasting properties.
2. **Model or Original Clay Piece**: The object or sculpture you want to replicate in clay.
3. **Release Agent**: Silicone mold release spray or petroleum jelly to ensure easy separation of the silicone mold from the original clay piece.
4. **Mixing Containers and Tools**: Clean mixing containers, stirring sticks, and a digital scale for accurate measurement.
5. **Safety Equipment**: Gloves and a well-ventilated workspace.
Steps to Make Silicone Molds for Clay:
1. **Prepare Your Original Clay Piece**:
- Ensure your original clay piece is clean and free of dust or debris.
- Apply a thin layer of release agent evenly over the surface of the clay piece. This will help in demolding both the original piece and the silicone mold later.
2. **Construct Mold Box (Optional)**:
- If your clay piece and mold require containment, build a mold box around the clay piece using a non-porous material like plastic or wood. Ensure there is enough space around the clay piece for the silicone mold material.
3. **Mix and Pour Silicone Rubber**:
- Follow the manufacturer's instructions for mixing the silicone rubber. Typically, silicone rubbers are mixed in a 1:1 ratio (by weight or volume).
- Thoroughly mix the base and curing agent in a clean container, ensuring no streaks or unmixed material remain.
- Pour the mixed silicone rubber over the prepared clay piece or into the mold box if using one. Pour slowly and steadily to minimize air bubbles.
4. **Cure the Silicone Mold**:
- Allow the silicone mold to cure according to the manufacturer's instructions. This usually involves waiting for the specified curing time, typically 12-24 hours, depending on the silicone used.
5. **Demold the Silicone Mold**:
- Once fully cured, carefully demold the silicone mold from around the original clay piece. If you used a mold box, remove the walls of the box first.
- Gently peel or flex the silicone mold away from the original clay piece. The release agent applied earlier should aid in this process.
6. **Prepare for Clay Casting**:
- Clean the silicone mold thoroughly to remove any residue from the release agent.
- Place the silicone mold securely on a flat surface, ensuring it is level and stable.
7. **Cast Clay into the Mold**:
- Prepare your clay according to your chosen recipe or instructions.
- Press or pour the clay into the silicone mold, ensuring it fills all the details of the mold.
- Smooth the surface of the clay if necessary.
8. **Demold the Clay Piece**:
- Allow the clay to set and dry according to the clay’s recommended drying time.
- Gently flex or peel the silicone mold away from the cured clay piece to reveal your molded clay object.
### Tips:
- **Detail Preservation**: Silicone molds are excellent for capturing intricate details. Ensure your original clay piece is well-defined to achieve the best results.
- **Storage**: Store your silicone molds in a cool, dry place away from direct sunlight to prolong their lifespan.
- **Reuse**: Silicone molds can be reused multiple times if cared for properly, making them a valuable tool for artists and crafters working with clay.
By following these steps, you can create silicone molds that are specifically tailored for casting clay, enabling you to replicate and reproduce your original clay sculptures or objects with accuracy and ease.
For More Info :
Contact Ph : 8050657801 / 8884343524